Saturday, October 20, 2012

Last Post For a While

The roof is done. Well, I still have to put on the fascia trip and stuff, but for all intents and purposes it is done. This was my main goal to have complete before I leave. So this will be my last post for a few months while I'm out of the country. Be sure to check back on the blog next year for more updates once I start building again.

Wednesday, October 17, 2012

Putting the Roof On

Only got six panels on today…it was a busy day. I went to go vote after work, which took forever, then I had to get a haircut and then we had to watch The Two Towers with dinner. So not much done today. Plus the mosquitos were really massing forces. Hopefully I will finish the roof up tomorrow.

Sunday, October 14, 2012

Roof Cladding

Outside view…roof cladding all in place.
Interior view from the main loft.
Interior view from under the main loft. Not much different. And below are my helpers taking a break and getting some chow. Pretty tuckered out.
I think I set a new standard yesterday in shady construction techniques. In one fun filled four hour period I: 1) sawed with a skill saw while holding the wood with my hand and knees. 2) Nearly guillotined myself with a monster sheet of plywood trying to solo muscle it onto the rafters. 3) Balanced precariously on the roof ridge while screwing and hammering the last plywood sheet, including one event where I hooked my feet on the top and suspended my body down head first so I could reach the bottom edge to secure it. Awesome. We all came out unscathed, the roof is sheathed, we're ready to put on the metal roofing. So mission accomplished. In retrospect, if I had two other dudes working with me and a medium sized step ladder I probably could have gotten it all done in like an hour with no near death experiences. But anyone who knows me knows that's not how I roll. I apply one of my old military mottoes to these situations: if it don't suck, it ain't worth doing.

Monday, October 8, 2012

Cuttin' Rafters

- Cutting out the rafters… -
- In my obsession with structural integrity, I took the liberty of adding some Simpson Strong-Ties ™ to give some added stability. Also in this picture you can see the now stucco'ed earthbag hut. -
- In this one you can see my death-trap platform to stand on while I'm working in the greatroom span. - That's about it for this weekend. The walls are basically buttoned up and once all the rafters are in place I can get the roof on.

Saturday, October 6, 2012

Buttoning Up The Walls

Evie's loft
They were supposed to be helping me, but it seems instead that Gunnar was just air-guitar'ing some 80's butt-rock ballad.
I was going to start the rafters today, but there was an elevation issue that I had not forseen. So I worked on that and also began attaching the wall paneling. Got 4 panels done, the rear loft done, the roof walls and roof beam done, and possibly nuked my skill-saw motor. We'll see tomorrow. Next step will be to do the rafters and finish the wall panelling. Then the roof.

Thursday, October 4, 2012

Loft Done

Bay wall frame and door.
The progress this week was pretty minimal, due to lots of rain. Bummer. I had wanted to be a little further along by now. But, as of this evening the main loft is done, the rear loft is framed, but only partially floored due to running out of 2x6 and it getting dark outside. Tomorrow morning I should be able to finish that up and then raise the rear wall roof frame and start on the rafters. I will feel much more satisfied when the roof is on and I can board up the walls.

Wednesday, September 26, 2012

Wall Frames

- Wall frames are done and raised. This raising was accomplished by my wife and I in the dark, and it very nearly ended in disaster. Mission accomplished, though. I have the bay wall partially framed; I need to pick up a couple of components from Lowes tomorrow to finish. The loft beams are in place, though not attached yet. Once all the framing is up and securely fastened to the floor frame I will sheath the walls and start framing the roof. I need to find a good stopping place where the structure will be adequately protected for the winter when I will not be working on it. Not that it gets freezing cold here in Georgia, but just so everything is somewhat closed up and protected. P.S. The trip to North Carolina was awesome and we came back motivated to do some building. Also the rice crispy treats at Grandma's house kicked butt. It was a good week.

Sunday, September 16, 2012

Saturday Morning Framing

Subfloor is done… Now we're starting the framing. We're doing some traveling over leave, but I wanted to get some of the wall framing done before we go. So here is the fore wall; I might get one of the sidewalls done before we take off. We'll see. Key take away from this part is that angle clips (those little metal braces you can screw into 90 and 45 degree framing) are the key to success with this. I'm a little too much of a do'er (as opposed to thinker) to be able to pull off awesome hammer and nail framing…It's mostly busted thumbs and cracked wood. So I'm embracing the end result of 300 years of industrialization: those little metal clips that make it much easier and straighter to frame than just hammering it.

Saturday, September 15, 2012

Friday Night Insulating

Insulation is cut and installed.
Side view.
Used spray foam insulator to seal the edges and cracks.
6 mil poly vapor barrier over the whole thing. Now it's ready for the subfloor.

Tuesday, September 11, 2012

Foundation Done!

The foundation struts are done…all supports are 4.5" x 7.5". They are nailed and screwed together, the base strut is bolted to the frame, and the finished foundation is bolted through the frame in 8 places on both ends with 3/8" galvanized carriage bolts. Drilling the frame took forever, but I think the structural benefits will be worth it. Additionally, the outside foundation struts are bolted to the side lip in 4 places. The floor frame is assembled, and aluminum flashing installed on the underside. Next I will be attaching the floor frame to the foundation struts. It will be lag bolted throughout, as well as bolted all the way through with carriage bolts in 4 places. Also, the frame will be secured periodically to the foundation with hurricane clips. Then, it will be time to insulate and lay the floor. On a side note, measure the head space in your vehicle very carefully if you're going to be using it to move rigid insulation panels. I failed to take into account the slope of the Yukon's walls, and ended up spending 30 minutes in the Home Depot parking lot wrestling all the insulation panels into the vehicle. Plenty of folks got a show and no doubt wondered what kind of idiot I was.

Friday, August 31, 2012

Weekend progress #1

The rails are cut off the trailer and I am constructing the floor framing this weekend. I've adjusted my foundation plans a little bit due to the excessive amount of time and work it would take to angle-grind the entire metal lip off all the way around the trailer. So instead I will be stripping off the unnecessary wood planking and lag-bolting 4x4 beams along the long axis of the trailer. My floor framing will be bolted to this foundation. I'm probably going to over-engineer this thing to the max, but better to have too much anchoring and securing than not enough. In these pictures I have placed the floor framing approximately where they will be so I can template how I will array the 4x4 beams to bolt to the trailer frame. Another advantage of doing it this way is I will be able to bolt the beams vertically and horizontally into the side lip, just adding an extra measure of stability and integrity.

Saturday, August 11, 2012

Trailer Is Here

Got the trailer today and here it is. It is a Big Tex 70PI-X tandem axle trailer. It's got brakes on both axles, and they are both rated for 3500 lbs. It is 83" wide by 18' long. The next step will be to stockpile all my building material and then I will have to cut off the side rails to install the subfloor/foundation. But first I have to finish stuccoing my other building project, which is a sandbag playhouse. I was supposed to be done with it by now, but somehow I got behind… I have a feeling I will have to be working on two building projects simultaneously in the next two weeks. Oh well. It's doable.

Wednesday, August 8, 2012

Examples

Here's a couple more pictures for an idea of the end-state. We will be modifying our loft a little bit over the doorway to extend it out somewhat for added sleeping space. I should be able to pick up the trailer on Friday, so then the building can commence!

Sunday, August 5, 2012

First Post: Introduction

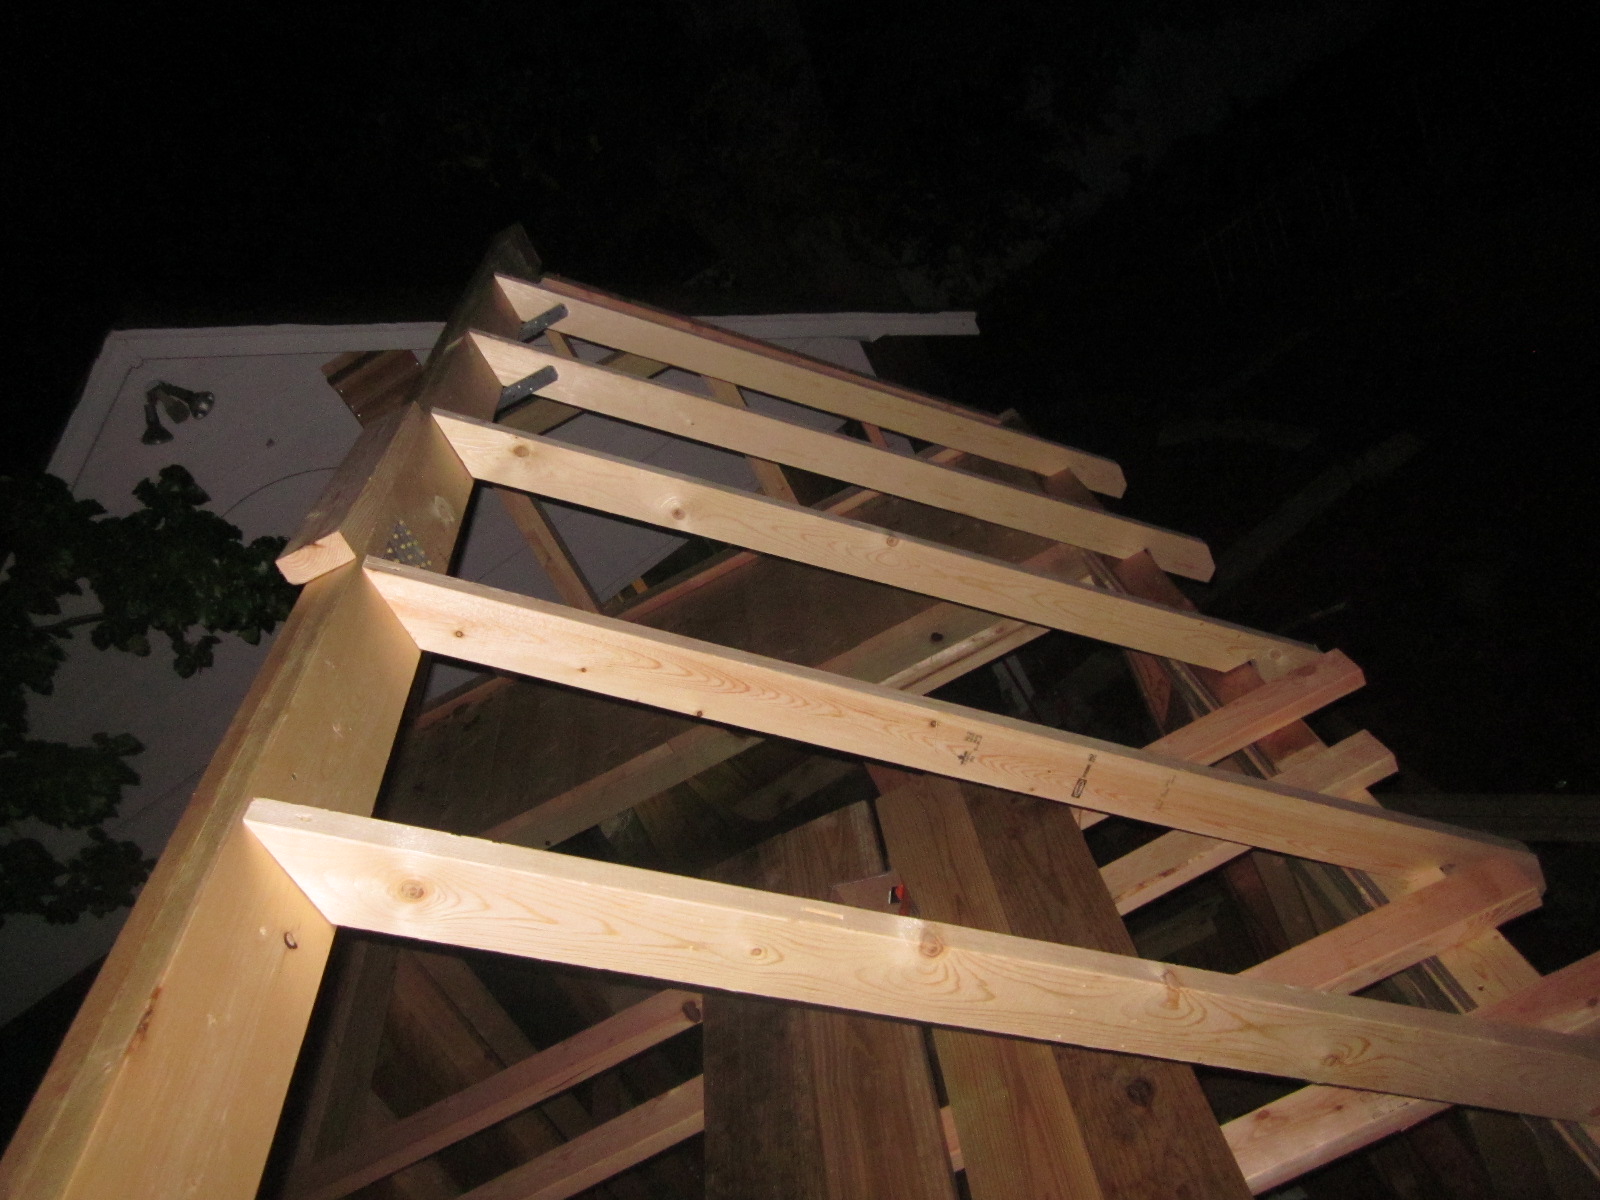
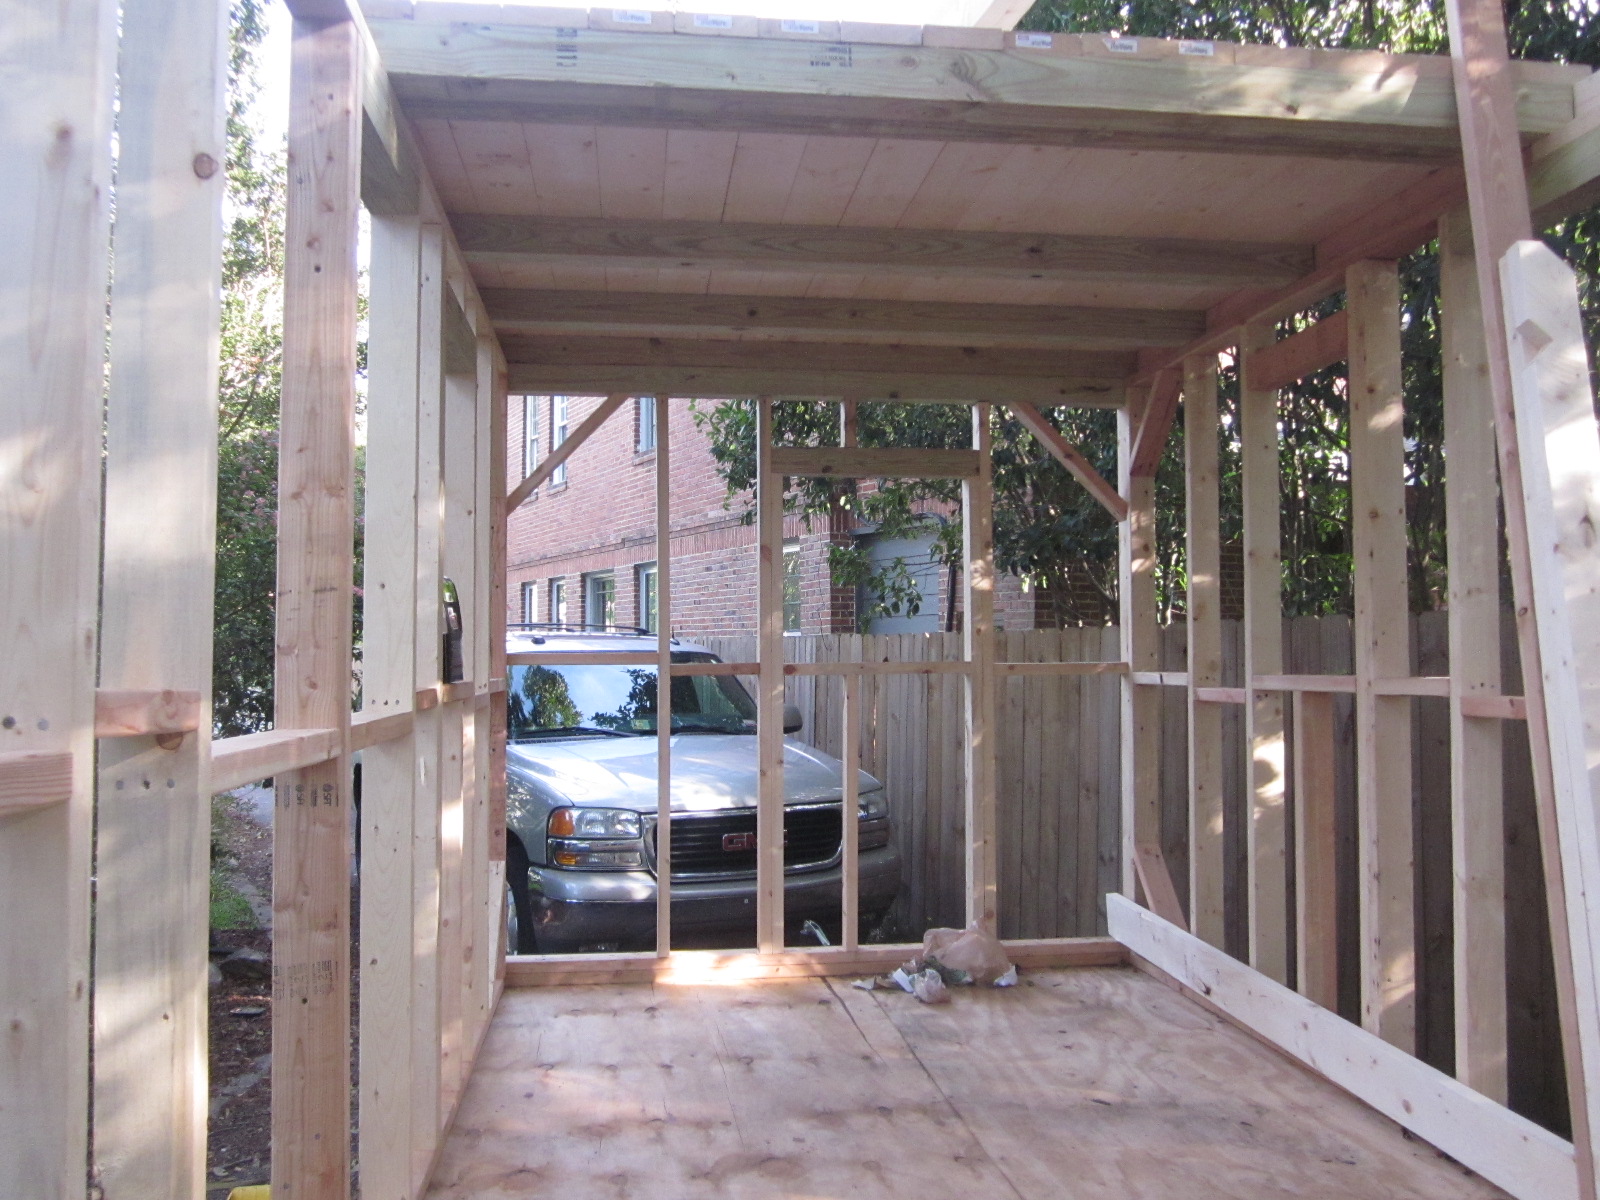
Hello and welcome to our blog! We are getting ready to begin building our new, tiny, portable home: the Tumbleweed Fencl. Our hope is to keep a thorough log of our building process with plenty of pictures of every stage of construction. Our endstate: a small simple home we can take with us wherever we go, soundly built to meet our needs and within our modest building budget.
It might take a lot of folks by surprise that we will be moving a family of seven into a 130 sq ft house. Is that so crazy? Well, our first idea was a tipi, so this is actually a pretty big step up in modern conveniences. We have found in our experience that lots of space in a house is rarely optimal. There is more to clean, it's harder to keep track of little ones, there's more temptation to acquire a bunch of stuff we don't need in order to fill the space… In our current 1900 square foot house, we spend 90% of our time in 10% of the house. So shrinking our footprint and adopting a much simpler and more efficient lifestyle is a challenge we are excited to embrace. Our biggest challenge for now will be finding the time to work on the construction between our daily duties of training for deployment and deploying, plus raising, caring for and homeschooling five small children. The trailer has already been ordered and is currently being built to meet our specifications. It should be complete in the next week or two, at which point I will begin the construction. So keep checking in every so often and see how the progress goes!